


What is a digital bookshelf?
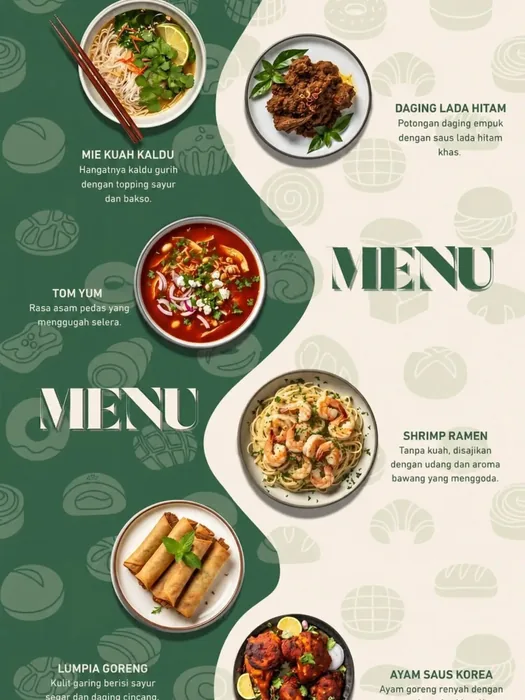
A digital bookshelf is a single page that displays several flipbooks side by side, the way books stand on a real shelf. Instead of sending people a handful of separate links, you send one. Visitors see the covers, pick what interests them and open it.
It suits anyone who publishes more than one document: a restaurant with seasonal menus, an agency with client brochures, a school with yearly magazines, a shop with several catalogs.


Create your designs first
The shelf only displays flipbooks that already exist, so create those first. From your dashboard choose Create Design, then pick whichever route fits.
- 1Choose Create Design in your dashboard.
- 2Upload a finished PDF, or choose Generate with AdflipAI and describe the design you want.
- 3Review the result, give it a clear title and save it.
Open your Digital Library
Open Digital Library from your dashboard, or go straight to /admin/library. Every flipbook you have made appears automatically, arranged three to a shelf. New designs join the shelf without any extra setup.
Organise with categories
Categories split a large library into themes. Use the + New category pill beside the category row, type a name such as Brochures or Menus, and confirm. Then move flipbooks in.
- 1Select + New category and name it.
- 2Open the menu on a flipbook card.
- 3Choose Move to category and pick the destination.
- 4Select a pill above the shelves to see only that category.
Search and sort
Once the shelf grows, use the search box to find a flipbook by its title or by the name of the PDF you uploaded. That second option helps when you remember the file but not the title you gave it. Sorting offers Newest, Oldest, A to Z and Z to A.
Work on many flipbooks at once
Choose Select from a card menu, then tick more cards. A bar appears with actions that apply to the whole selection: copy their links in one go, duplicate them, or delete them. Deleting cannot be undone, so check the count before you confirm.
Tips for a better shelf
- Keep covers consistent: similar proportions and style make the shelf feel designed rather than assembled.
- Name flipbooks clearly. Titles show up in search and under each cover, so lead with what the document is.
- Protect sensitive documents with a password on the individual flipbook. A shelf link reveals which books exist, so keep private material off shared views.
- Show off your best work: use Dashboard, then Publish Design, to feature a flipbook on the Inspiration page.
Ready when you are
Build your first bookshelf
Open the Digital Library, group your flipbooks and share the shelf in minutes.